Impotence which is also known as erectile dysfunction (ED), is described as a medical condition in which...
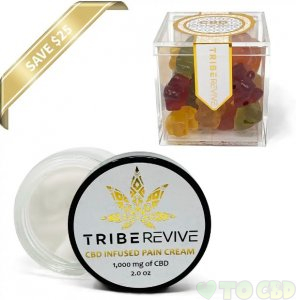
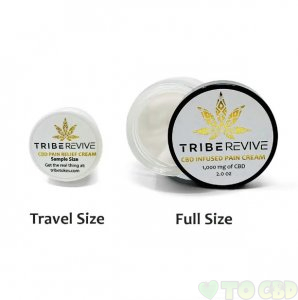
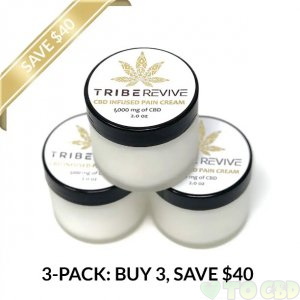
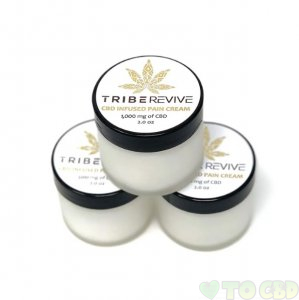
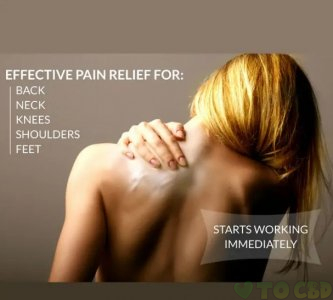
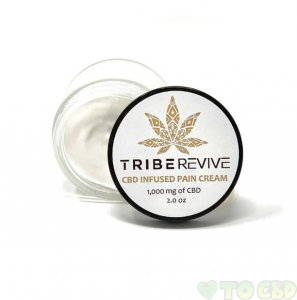
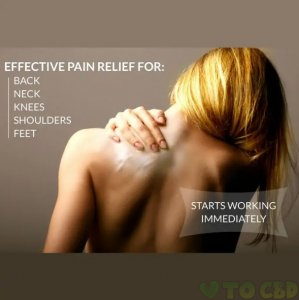
Cannabidiol (CBD) products are well known for their pain relief properties, be it in the form of ointments...
CBD tinctures are an excellent addition to a healthy routine. However, with uncountable tinctures in...
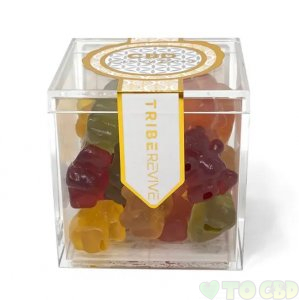
Gummies are the most convenient and fun way to take CBD. If you have never tried CBD before, then gummies...
Florida, the United States – March 26, 2021 – A survey conducted by JustCBD reveals more people have...
(London, UK) March12, 2021: It’s been one year since the COVID-19 pandemic was declared. Rather than...
(London, UK) March 12, 2021:Dimepiece LA, a clothing brand recognized by celebrities and street fashionistas...
CBD is the short form of Cannabidiol. It is a cannabinoid compound derived from the hemp (marijuana)...
CBD is the short term used for Cannabidiol, a cannabinoid compound with fabulous health benefits and...
If you’re looking to celebrate this Valentine’s Day by surprising your partner with the silkiest smooth...